Question: Why would I do this?
Answer: to make the resin cast a solid peice.
Tip of the day:
When working with hot glue and styrene, be careful as the styrene can and will melt if too much heat is applied at the same time. An example of this is in the first picture, it is the peice I cut off.
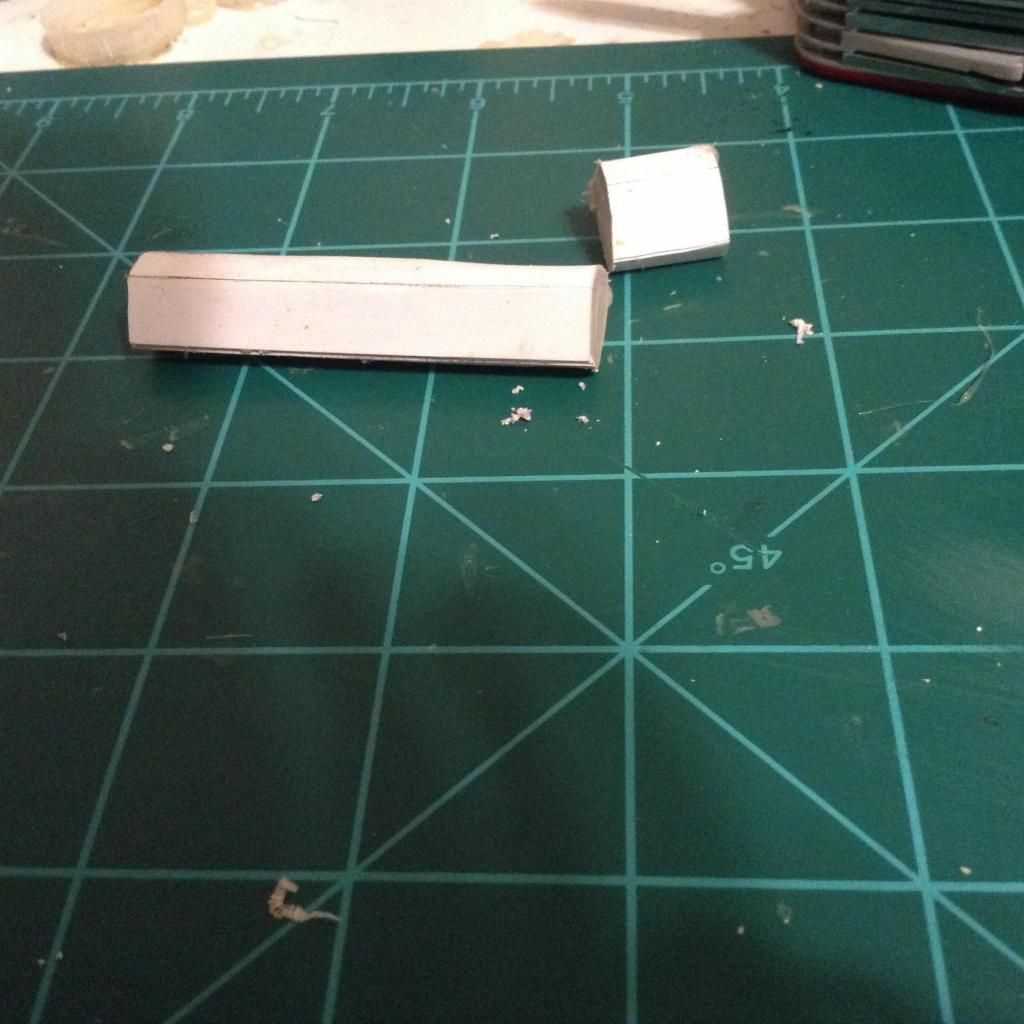
This is the side veiw of the cut off piece, as you can tell I didn't get the hot glue poured in the right way, it works best with the hot glue gun about an inch from the surface you are pouring it in.

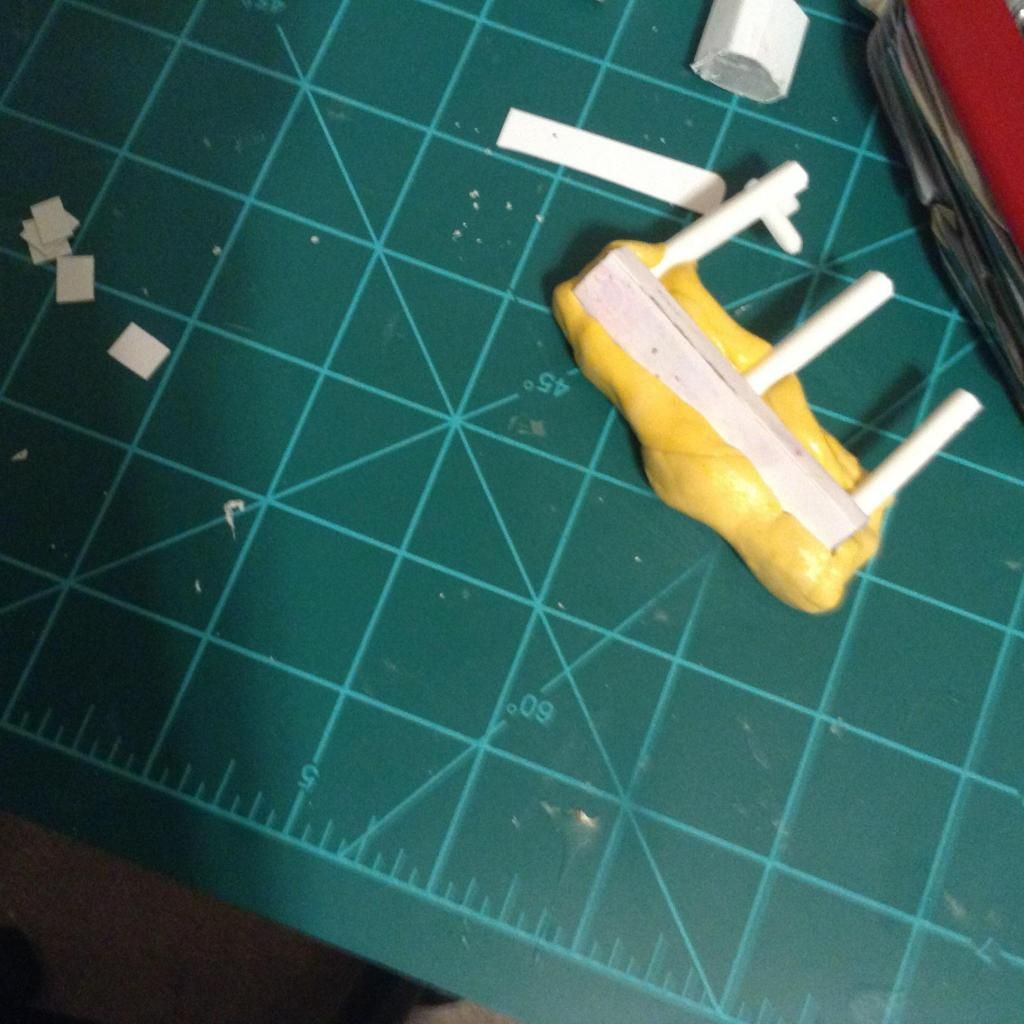
Next picture of the progress is a side view of the mold. As you can tell because my casting skills are somewhat noobish I have three sprue peices on the surface. One is to make a whole in the mold to pour the resin and the others are for air to escape as the resin fills the mold.
So far this has been a fun little projespct to do, and if anyone of you is wanting to scratchbuild something like I am and are wondering where to start, I say just jump in! Here are some basic modeling tools you'll need.
-Hobby knife/scalpel
-A cutting board like seen in the picture is good to have
-sand paper: fine, medium, rough grit
-Multitool like in the pictures. I personally use a Swiss Army knife because it has a good balance of tools that you might need, like a sharp pair of scissors, and razor sharp knife blades. The particular model I am using is called the champion. You don't have to have a super expensive multi tool, just something that has the tools to get the job done with precision and in a timely fashion.
Anyways, that is it for today's update, I hope to have more content on the blog sometime in the latter part of next week. Hopefully I will have the warhammer assembled and ready for a awesome paintcheme. Until then, stay tuned and take care.
-Geiger out
No comments:
Post a Comment