Total views since Original Post:

Monday, December 29, 2014

Jager restoration continues

Jager restoration continues 
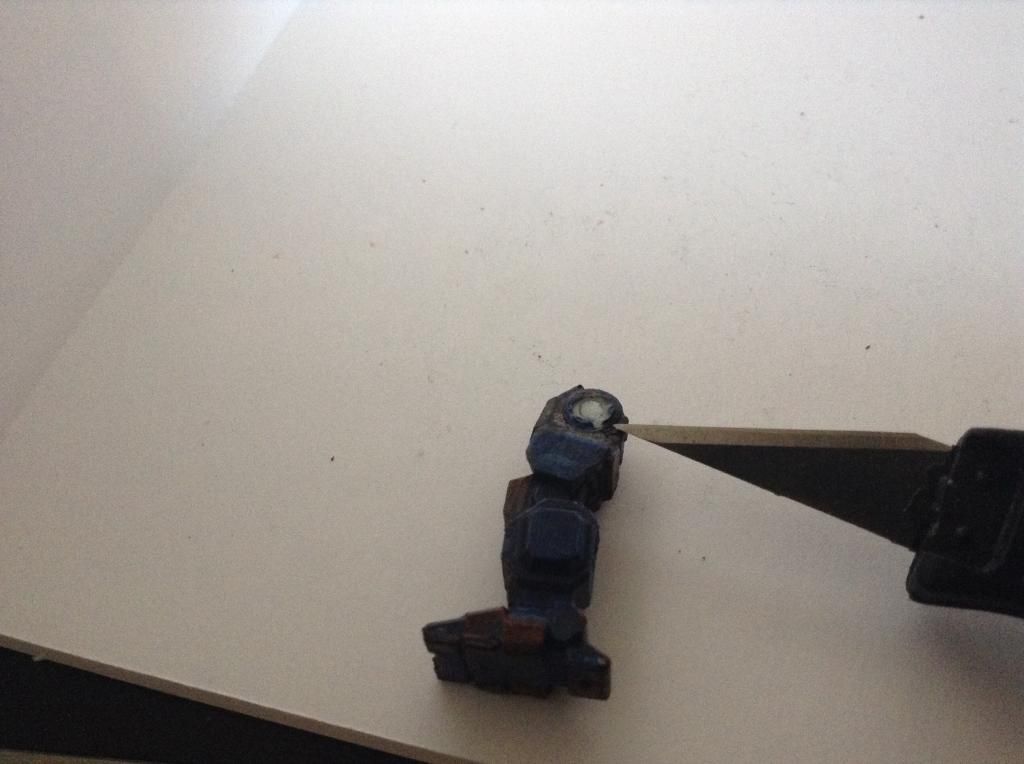
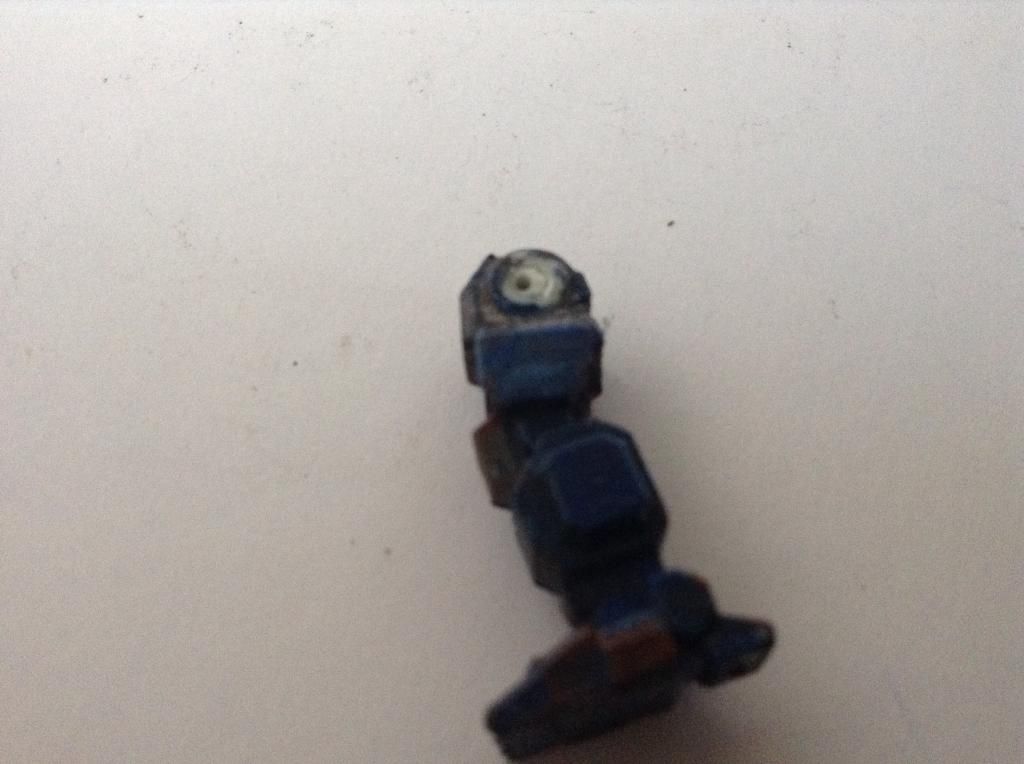
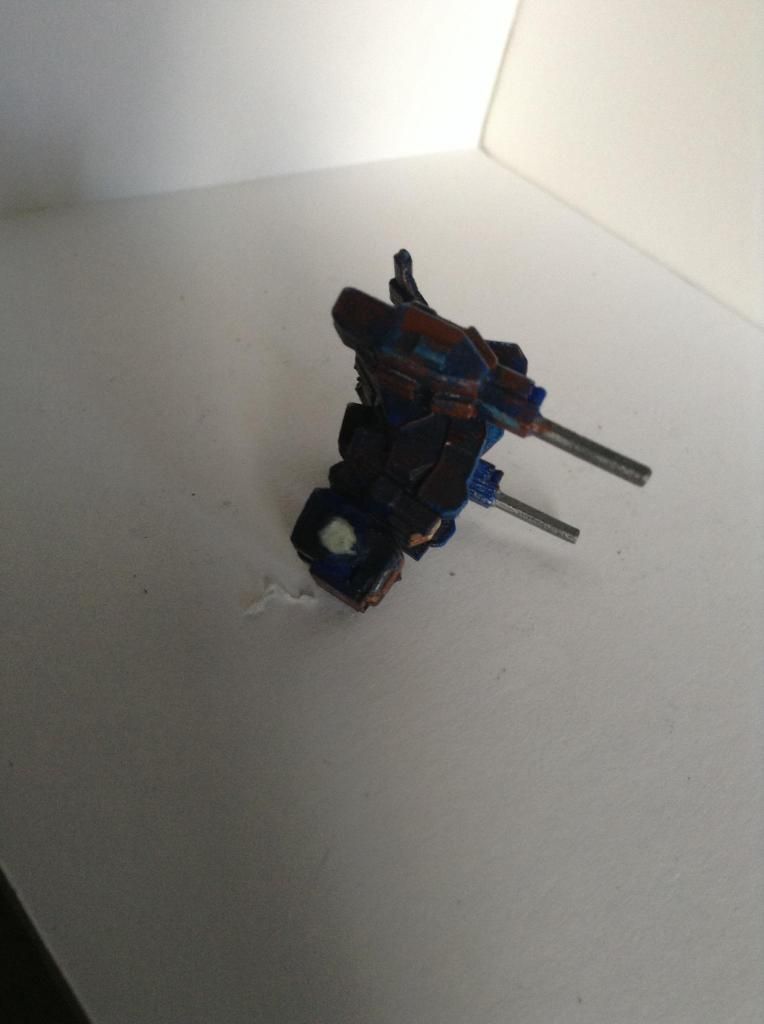
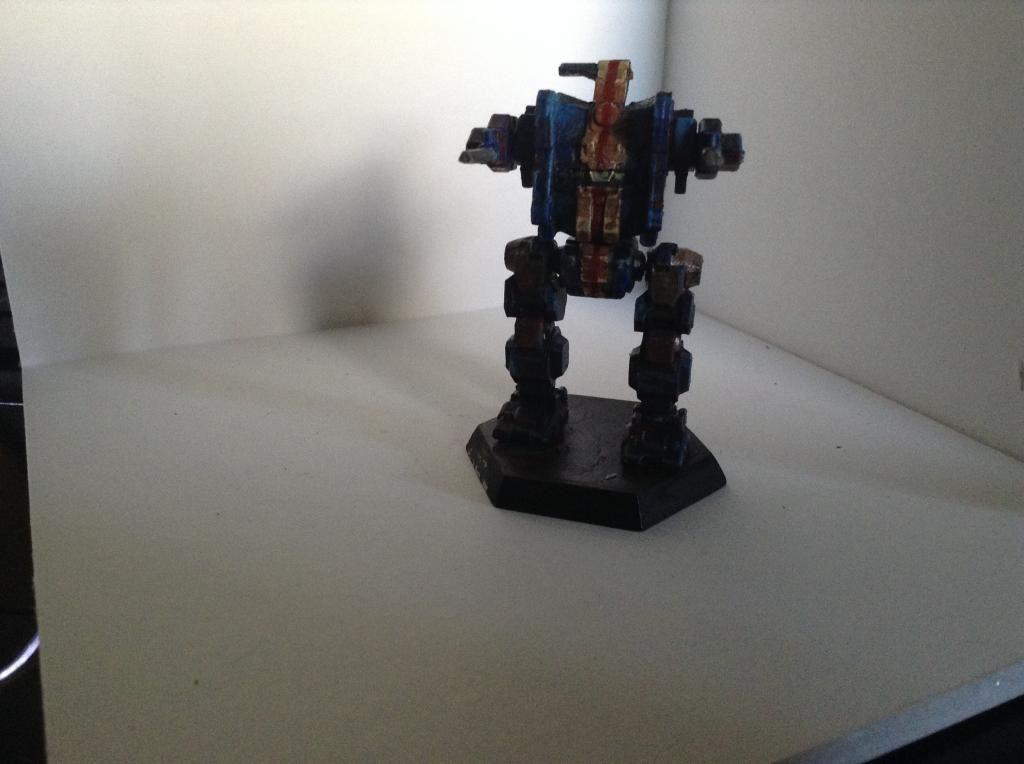
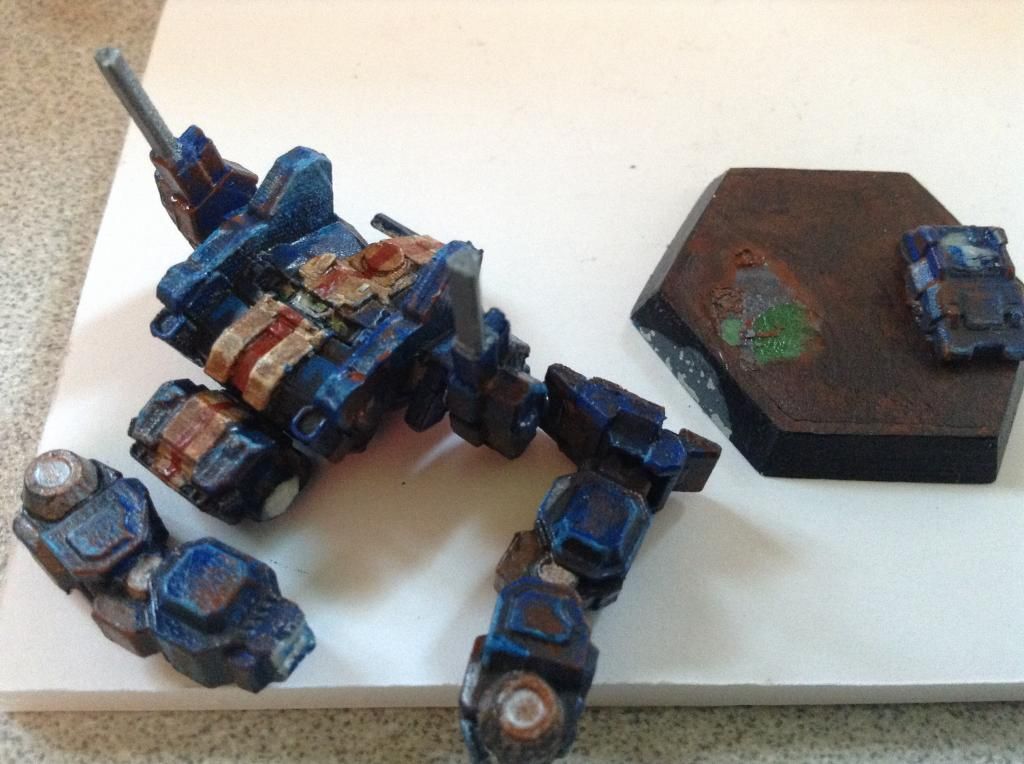
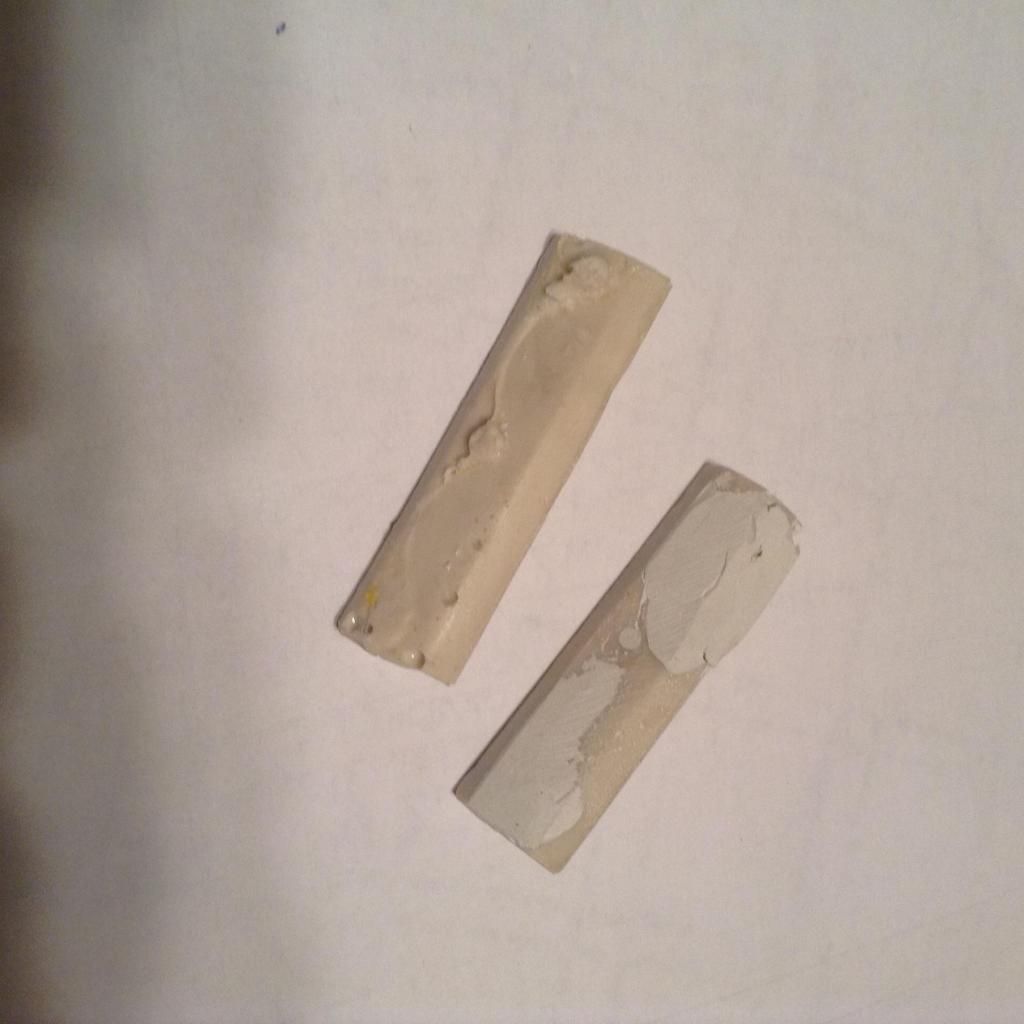
Hey all last Friday's post was about pinning the jagermech's limbs, and I mentioned repairing the radar dish as half of it was damaged. 
This post will be another tutorial for you all. 

Plastic packaging, ever wonder what uses it has? 
Well, for starters it can be used for scratchbuilding parts. 
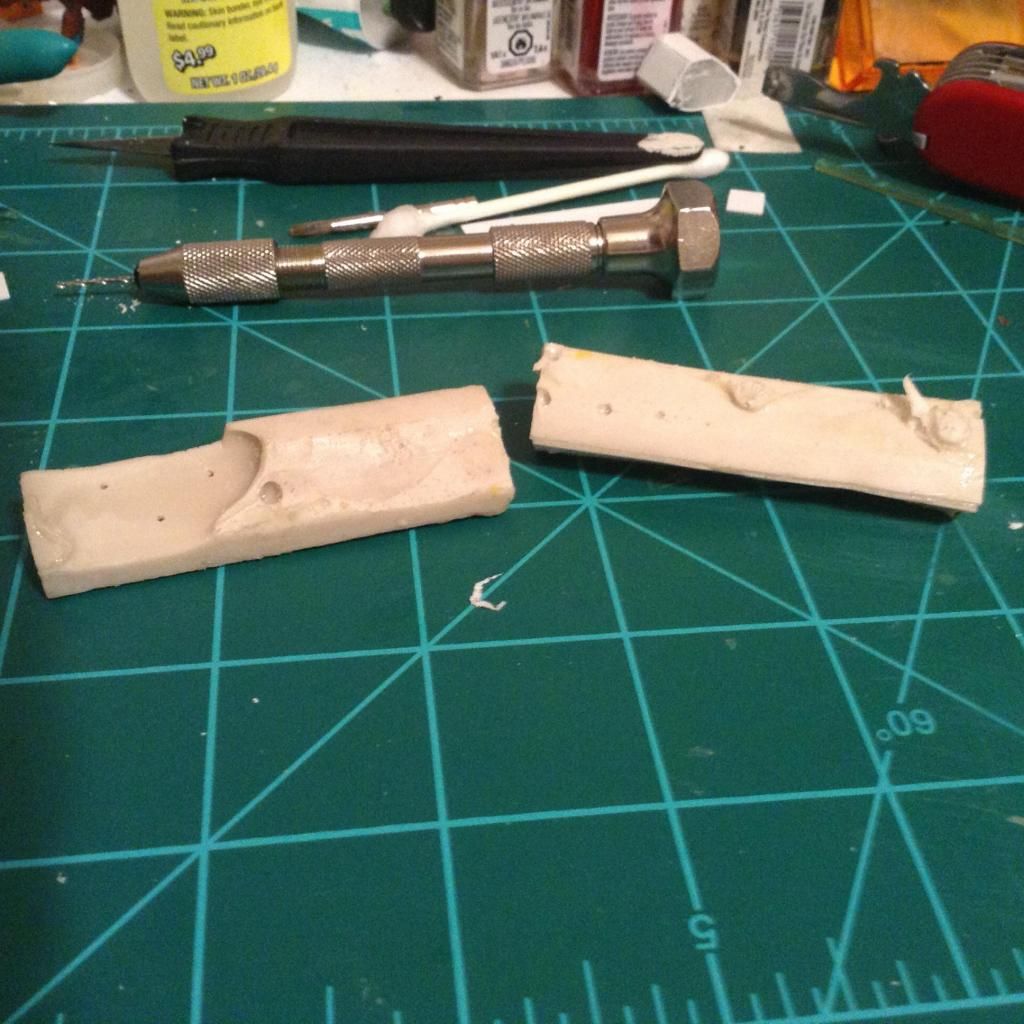
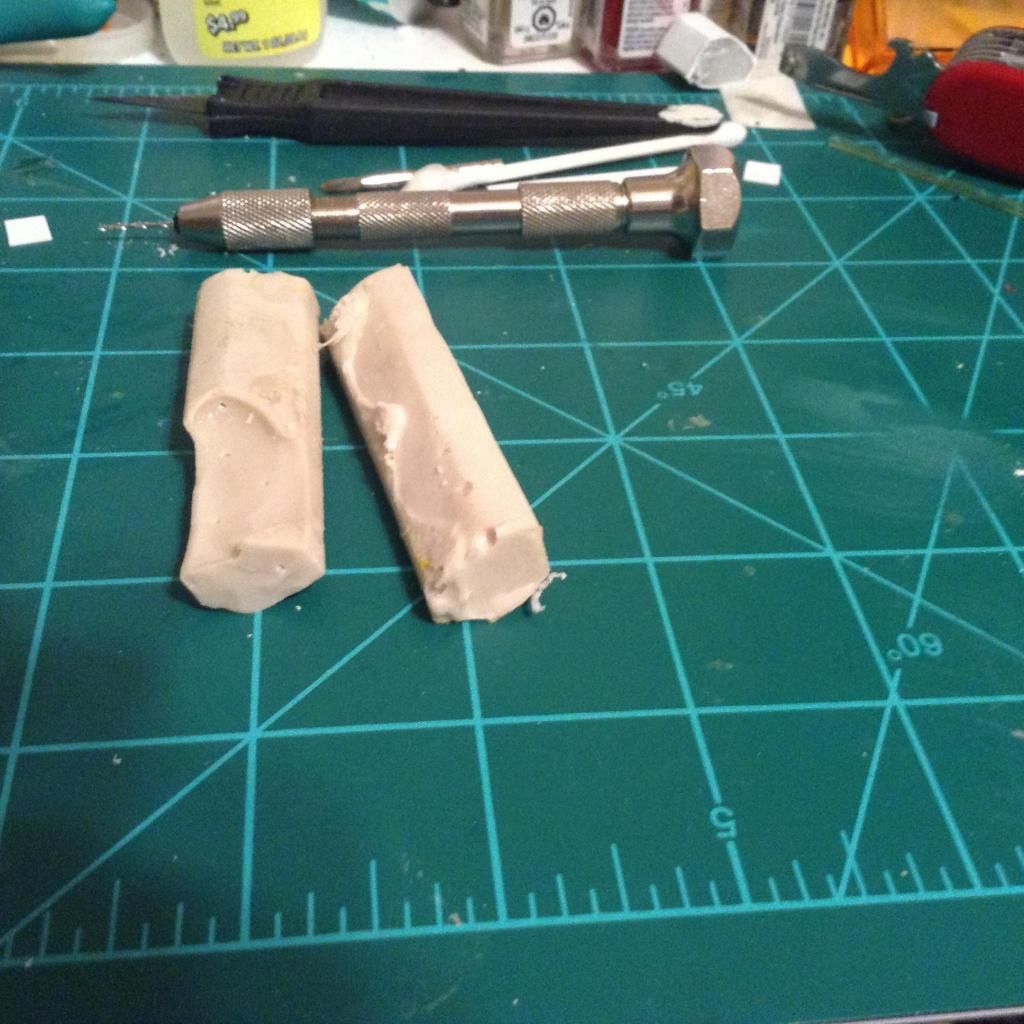
We start off with two peices of plastic packaging, both about 3/64 inch thick. 

Step one:


As the plastic is clear with a smooth surface, we will need to file it down to a matte finish so the glue we'll be using to laminate the peices together will stick together the best. 
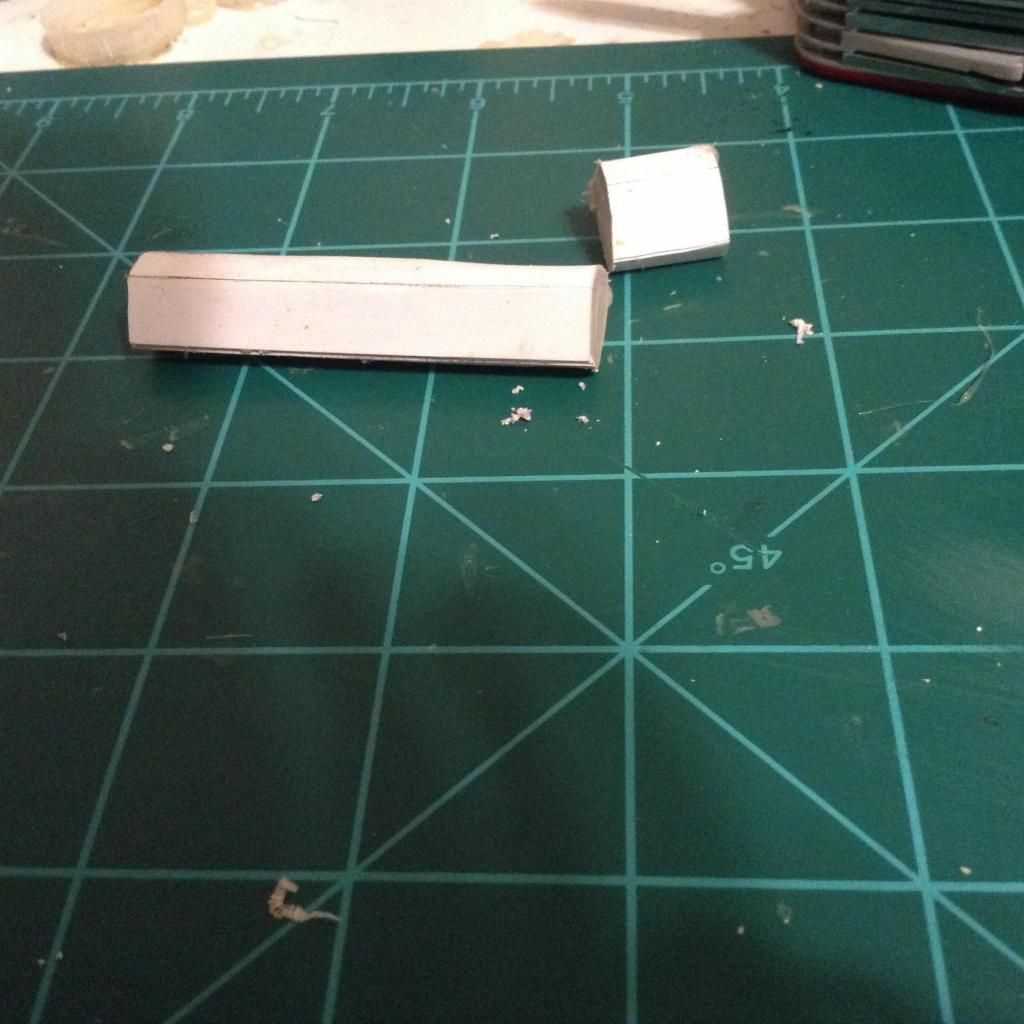
Step two: 
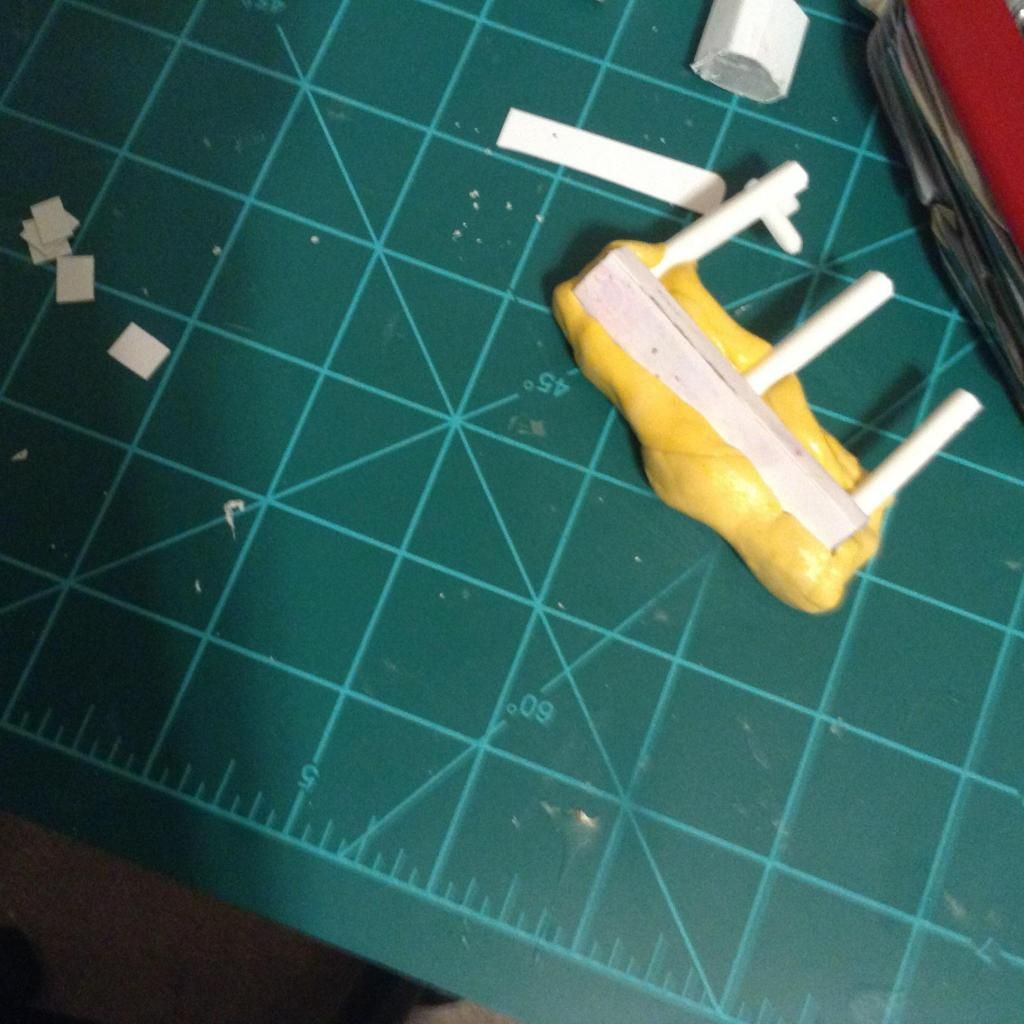
Fuse the two peices together with the super glue, and trim it 
down to the size necessary to replace the part. 


In hindsight I should have cut the 30 degree angle on the peice before cutting it down to shape as it is too small to do so know.I will make a new one later.

Also I'd like to take a second out of your day to say that if you enjoy what is posted on this blog, please recommend this blog on Google+ and your friends as it will help us greatly, and in turn, give you more weekly content including product reviews( more on that Friday...) and mech builds and models galore!

With that concludes today's blog post, see you soon.

Friday, December 26, 2014

Jäger down! Jäger down!

Hello all, last week I promised a lesson on pinning and where to do so to effectively ensure structural integrity to a model, so I hope you find this helpful.

While building a model or figure you might realize that some pieces need pinning to support the part.

For this demonstration I am using both a 3/64 drill bit, and music wire and a pin vise.

Step one-Find the face on the model that will need the pin inserted. In this case it is the left and right leg, where they connect to the torso and to the base.
-Find the center of the piece


Step two-after finding the center of both faces, mark the center with your hobby knife to make a "pilot hole" 
In this picture I screwed up and didn't get the drill bit centered so the same mis-centering is required on the other face to counteract it. Step three- Do the same to the other side of the model 


Step four- Almost done! Here all I have to do is pin the other side and mount it on the base, quick and painless!
*puts on sunglasses*I geuss you could say...that it is legged.
All I've got to do is make a new raider dish for the jagermech as half was lost in the drop. 

But I hope this shows that pinning doesn't have to be difficult. 
See you next Monday. And if you enjoyed this post make sure too subscribe and recommend this blog on Google plus as we update the blog twice a week; Mondays and Fridays. 


Monday, December 22, 2014

Awww Son of a...

Ok. Shortly after I finished taking the pics for the last update I just had to drop the jagermech. Which is... Disappointing to say the least. On the bright side it should require only minor pinning, and luckily it only broke at the major joints...
See image below.


So anyways... Tip of the day:
If you insist on taking your minis outside to take pictures of them, make sure you know what your doing so as not to drop them because the results can be quite frustrating.

this Friday's post will consider a short lesson in pinning small parts and how to do it effectively as possible.
See you soon.

Thursday, December 18, 2014

A quick question...

Hey guys, this is just a post compensating for tomorrow's lack of posting, I was thinking of getting this printed out as a water slide decal, where would I go to get this done fairly cheap? I was thinking it would look good as nose art on the war hammer:
Though I suppose it would work better on a Hollander than a Warhammer just because of the big gun and no support weapons; like this picture of the Hollander:
So anyways, If you know where to get this done, please tell me in the comments section, it would be very appreciated. 
Thank you and see you soon. 


Monday, December 15, 2014

"Artist" Rendition of the war hammer

 I forgot to put this in the last post, an "Artist" rendition of the Warhammer in digital camo:
                                             

It's a pretty bad render of it (figures I did it.) But it does give you a descent idea of what I hope to achieve.
Sadly I won't have a blog post on Friday because of highschool finals before winter break.


Friday, December 12, 2014

It's Alive!

It's alive! 
Over long thought, I've decided to make it my own custom variant instead of going with MW LL's A variant of the warhammer. The only difference between mine and there's is that one of the ppc's is swapped out for a gauss rifle. 
There variant has two gauss rifles; one on each arm. 

I also put a light coat of grey primer on the surface of the model to test if I had gotten all the mold lines smooth. 
See pictures below: 


 In other news Monday I mentioned the contents of this blog post being the following, a rambling of tools that I use, and why

 I use them. The only exceptions are the types of putty I mentioned in the last post. 
1.) generic CA super glue:


As you can see it is the generic bargain brand CA super glue you can get at craft stores like Hobby Lobby. You can get this particular brand for roughly $6.00 a bottle, $2.00-$4.00 less then the name brand glue.

Perks
-CA has been developed for use in the military. This means that 
it can AND will bond to skin (almost instantaneously) as it was originally created to clot bleeding much faster than a scab can form.  
-Strong
-Lightweight 
-Bonds most material together, be sure to file both surfaces down so the glue has something to hold on to.


2.) Finger drills


Finger drills work in the same manner of a pin vice. 

Perks
-as apposed by a pin vice, they are held in your fingers so you 
can be more precise. 
-They come in many sizes; the ones I usually use are:
          -1/64
          -3/64
          -1/16
          -1/32
*A caution* the smaller bits like 3/64 are extremely delicate and can snap easy. (Hasn't happened to me YET. But I have heard of it happening) 


3.) File


A file is a very, very useful tool that is often overlooked. 
I am primarily using the one on the "workchamp" Swiss Army knife; this particular file was meant for soft metals so it reallycuts through the putty like butter. 

Perks
- teeth on the file are far away, so gunk is rarely needed to be cleaned out. 
-Can be used on multiple surfaces


4.) permanent marker 
I use a blue sharpie to mark out where detail needs to go on a 
model, and too right build notes on the models surface for reference
Tip of the day: Hand sanitizer works great to get sharpie of a surface because of the alcohol content. 

And with that, this draws an end to this blog post, see y'all soon next Monday, where we'll probably be discussing paintschemes. 
Hint; I am thinking of doing some sorta digital camo...

Stay tuned more on that later.

If you enjoyed today's post make sure to recommend this blog to your friends and family, and also please recommend this blog on Google+ if you particularly enjoy what I am posting. 


Monday, December 8, 2014

Hello? Spambot? Anyone there?

Hello? Spambot? Anyone their?
Not to much progress has been made in the past few days since we last talked, the putty I'm using is Squadron brand and it takes a while before solid enough for sanding.
You can get two different types of putty from squadron, white and green. They have a few differences between the two.
I pulled this from a thread over at scale model magazine's forums; and here are the attributes for both:
Go here to see original thread; It will open in a new window.

GREEN PUTTY:
-Best for darker colored paintchemes
-Has a grittier surface than the other.
-Less brittle than white putty
WHITE PUTTY:
-Finer Gritt
-Easier to work with, sanding, filing, ect.
-A bit on the brittle side.
-Better for lighter colorschemes as it doesn't darken or lighten the shade of paint
SIMULARITIES:
-Both melt plastic if to much is used at a time
-Both fill gaps
-Same price; in USD it costs around $4.00 a tube
-Both claim to last a while
Go to the original forum post:
And here is a bad picture of the gauss rifles, I got the air bubbles filled in and I still have to do a lot of filing to get the surfaces completely smooth, but all in all the build is coming together nicely.


So what will we be discussing in the next update? Well, to answer simply without giving to much away we will be talking about different tools, everything from hobby knife to resin to ruler, as well as hopefully have both gauss rifles mounted. 
I think that about does it for this update, see you all on Friday. Have a nice day. 


Here

Friday, December 5, 2014

Duel Gauss rifles!

Hello again, this is the last update to my blog until Monday December the eighth, after which the blog will be updated twice a week on Mondays and Fridays, at 10:30 PM mountain time.

As promised I got the gauss rifles for the warhammer completed today (almost)

These aren't my first try to make a resin cast of the master copy, the other one turned out awful, didn't get the 2 part resin mixture right. Anyways, the second attempt went much better.
The first gauss rifle has a major air bubble in the surface, so I have drilled four holes inside of the whole to insert metal tubing, kinda like rebar. This is because I am not sure wether or not that the putty I am using would be strong enough to fill the whole by itself.
Here is a picture of it: (Please excuse the bad picture quality, camera won't take good  pictures of white material)
And a side view of both gauss rifles, as you can tell they need a lot of cleanup work to be suitable.
All in all the casting process went better than what was expected especially with my novice amount of casting knowledge. 

Tip of the post: I can't stress this enough how important it is to get the mixture of resin correct if using a two part mixture like I am! Too much of part A, (accelerator) and the resin won't dry properly,  and Too much of part B will make the part to weak to use. 


Also if you enjoyed the content of this blog so far, I ask that you support the blog by recommending it on google+. If you would like further updates delivered to you via email, there is a button near the top of the page. Thank you guys, and see you soon, on Monday the 8th. 


Good news!

Update:
The mold for the gauss rifle is almost complete! I should have a cast of it to show you guys tomorrow! Here is a picture of the mold:
In other news, starting Monday of next week I am excited to announce that we will have a more regular posting schedule at "Mechwarrior/Battletech models inc." 
Here is the schedule; a new post will be added Every Monday and Friday, the Monday scheduled post will be at 10:30 pm, Mountain time zone (UTC-07:00) (a little late I know) and the Friday post also will be at the same time. 


That is all for today's update, and I ask that you haven't already please subscribe on Google+ (Uplink contact under sub tab "Spread the word!") for more  Battlemech model goodness! 
See you guys soon. 

Thursday, December 4, 2014

Project warhammer update

Today I filled the inside of the guass rifle with hot glue.
Question: Why would I do this?
Answer: to make the resin cast a solid peice.

Tip of the day:
When working with hot glue and styrene, be careful as the styrene can and will melt if too much heat is applied at the same time. An example of this is in the first picture, it is the peice I cut off.


This is the side veiw of the cut off piece, as you can tell I didn't get the hot glue poured in the right way, it works best with the hot glue gun about an inch from the surface you are pouring it in.

Next picture of the progress is a side view of the mold. As you can tell because my casting skills are somewhat noobish I have three sprue peices on the surface. One is to make a whole in the mold to pour the resin and the others are for air to escape as the resin fills the mold. 


So far this has been a fun little projespct to do, and if anyone of you is wanting to scratchbuild something like I am and are wondering where to start, I say just jump in! Here are some basic modeling tools you'll need.
-Hobby knife/scalpel 
-A cutting board like seen in the picture is good to have
-sand paper: fine, medium, rough grit
-Multitool like in the pictures. I personally use a Swiss Army knife because it has a good balance of tools that you might need, like a sharp pair of scissors, and razor sharp knife blades. The particular model I am using is called the champion. You don't have to have a super expensive multi tool, just something that has the tools to get the job done with precision and in a timely fashion.


Anyways, that is it for today's update, I hope to have more content on the blog sometime in the latter part of next week. Hopefully I will have the warhammer assembled and ready for a awesome paintcheme. Until then, stay tuned and take care. 
-Geiger out


Wednesday, December 3, 2014

Update on project Warhammer

Update on project Warhammer:
I didn't get too much done.  But I managed to get one of the two guass rifles almost completed today. It is made out of a local amusement park card.
Tip of the day: looking for cheap styrene?
When working smaller projects that need styrene, use an old membership card made of plastic. This is because it is made of the Exact type of styrene that you can buy in big sheets at the hobby shop for 7-8$ more and you get the exact same result.

Another place to get styrene cheap(er) in the [$4-$5] range, other than the hobby shop is at the Home Depot or other hardware store. They tipically have signs made of styrene.

Of course, remember to get the best results for gluing and painting, remember to scrape off whatever print is on the card or sign.

Anyways, you guys came here for progress of the build, so here is a picture of the guass rifle.
This is just a prototype, as I will be casting it in resin so both gauss rifles are symmetrical to each other as possible. 
This is a pretty fun build and I hope you've enjoyed watching the build progress as I go along. 
As always, stay tuned. 
-Geiger out.