Total views since Original Post:

Saturday, November 29, 2014

New project

First off, Project Atlas is cancelled due to insufficient funds, possibly for a later date. In the meantime I did start a new project: restoring one of the 1/60 scale Robotech tomahawk/warhammer. Here are some pice; the original paint wasn't that bad I just forgot to remove the mold lines so I figured I'd make a high quality display model while filling in the gaps. Behold:
I am trying to install ladder rungs on the right foot 
Side viewof ladder rungs:
More pics of the build next week, stay tuned


Friday, November 21, 2014

A NGNG comic

Hey guys, I haven't started project atlas yet, but I thought I'd show a "Critical hits" comic.
They're  pretty funny to read. They make fun of designs of the mechs as well as gameplay aspects of the TableTop edition

Monday, November 17, 2014

Photo Slew!

Hey guys today I thought I'd give you some good pictures of the Atlas's detail for reference if you guys wanted to make a model of it as I am.
First picture is this one; of the papercraft model without texture next to the actual in game model:
Next is the shoulder assembly:
Bottom veiw:
Front view(side?)


The side view of the chassis
Off kilter front view


Head side view without shoulder assembly:
Another side veiw of the head this time with the shoulders attached. Because of the way the head is modeled it looks as it can be taken off for maintenance.


Front veiw of the shoulder/head assembly 
From this view it also appears that I could make multiple loadouts that slide in on the fly and are held in with earth magnets. This will work on just about every weapon except the CT large lasers. 
Also one more photo for what I hope to achieve, not the paint scheme but the loadout, I want to make  the lower canister on the AC/20 replacible with a AC/2 to simulate the 
Atlas AS7-D

Also I have yet another link for you. The papercraft by Parman01 over at the MWO forums:


And also a link to what someone else did wih the same paper plans:


That's it for me for today. I hope to start the build over Turkey week.
Thanks for reading this blog.


Sunday, November 16, 2014

Useful links:

Here are some useful links for you guys:
Classic Battletech 3D models:
http://www.sarna.net/files/media/3d_models/
The MWO forums:
http://mwomercs.com/forums/forum/7-community-hyperpulse-generator/

Myomer Dreams; a good blog with large scale mech models

http://myomer-dreams.blogspot.com/search?updated-min=2014-01-01T00:00:00-08:00&updated-max=2015-01-01T00:00:00-08:00&max-results=14

FCY:Battlemech Club more large scale mech models

http://battlemechclub.blogspot.com/

Leg destroyed reverse disabled; yet more large scale mech models as well as some CBT scale stuff as well.
http://reversedisabled.blogspot.com/

More links will be added at a later date, stay tuned.

-ace


A link


Hey all, haven't gotten anything done on any of my projects buy I thought I'd give you guys another good link today. On Sarna the official Battletech wiki they have a download section with 3d models of most of the mechs. Here are some of the models straight from the download part.
The summoner:
The Jenner light mech:
And finally the Atlas assault mech
Here is the link if you guys are interested:
These models should almost be ready to be 3D printed just some minor cleanup on each. 

Saturday, November 15, 2014

A new project.

Hey guys I am sorry I haven't really posted anything today, but am inspired by some other people's blogs to create my next project.

Like
Myomer dreams: http://myomer-dreams.blogspot.com/search?updated-min=2014-01-01T00:00:00-08:00&updated-max=2015-01-01T00:00:00-08:00&max-results=14

This is a great blog where he describes building large scale mech builds, and he have inspired me to attempt my biggest project yet. My favorite mech of all time, a 1/60 scale MWO atlas model much like the one featured in the title of this page. This blog post won't show any work or pictures as I haven't started it yet, but rather it will go over the basic plan of how to do it in a paragraph or too.

The owner of The FCY Battlemech Club and the owner of myomer  Dreams both base they're models off of a paper craft model. To make a model from a paper craft you cut out the paper pieces of said model. You trace the shape of the piece on to a piece of styrene plastic (anything from .15 to .30 depending on what is needed for the part. After this, you take the piece of paper from before and cut out any panel detailing on there, and do the same step as for the first part mentioned here. This is because on a standard paper craft model all the surface texture is printed onto the paper. When you build it out of plane sheet styrene, obviously there isn't any surface detail to the part. After doing this for each part of the model you then have to put it together like a typical paper model. When you are done with this step fill in all gaps between parts and any sinkholes that cover the model surface with green stuff. After this step some make a mold of it so they can make a limited amount more of them.

Well that's it for this blog post,
Catch Ya'll later,
Mech42ace out.

Friday, November 14, 2014

More Mwo mini goodness

Update:
Today, I thought we'd backtrack a little bit on how I got the MWO minis and how they were before assembled, as well as show some other mechs I still have to paint up.
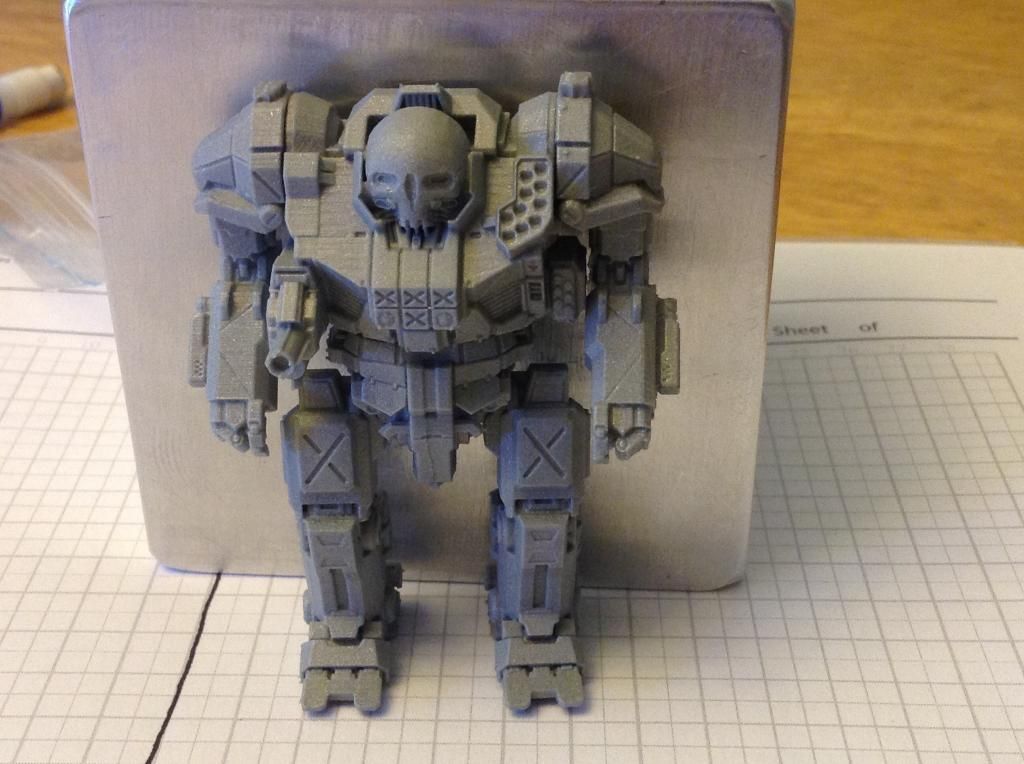
We'll start off with how they were shipped out to me:
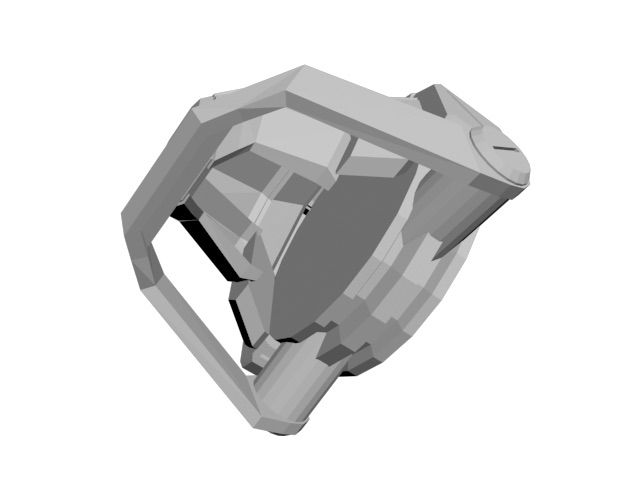
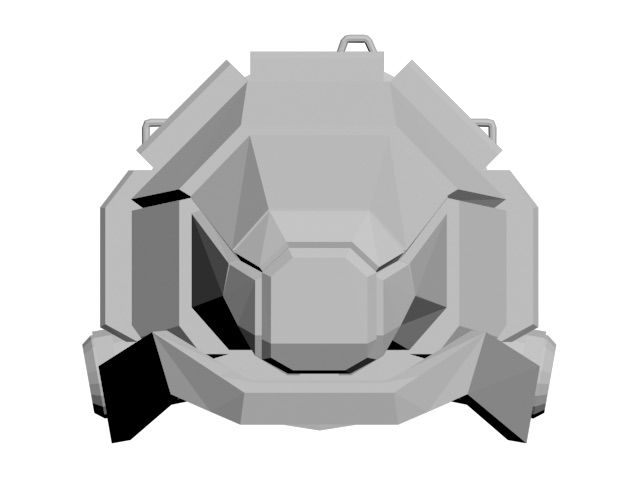
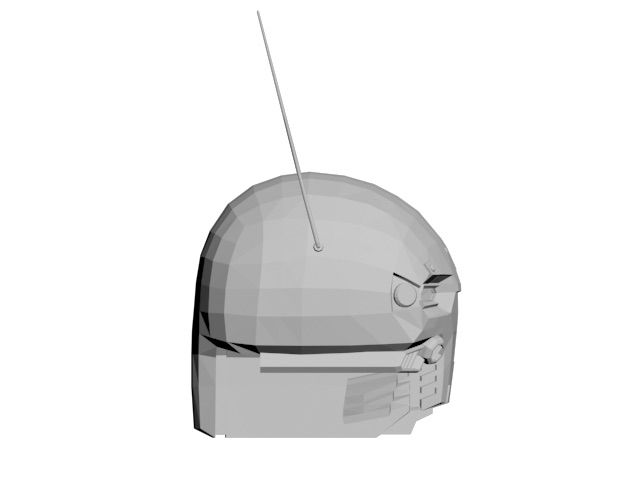
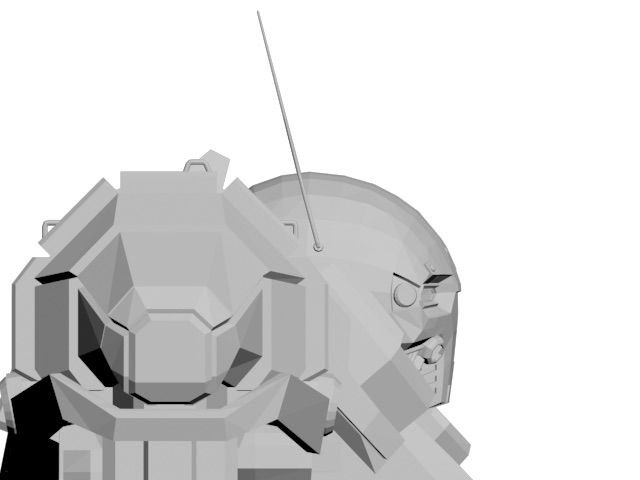
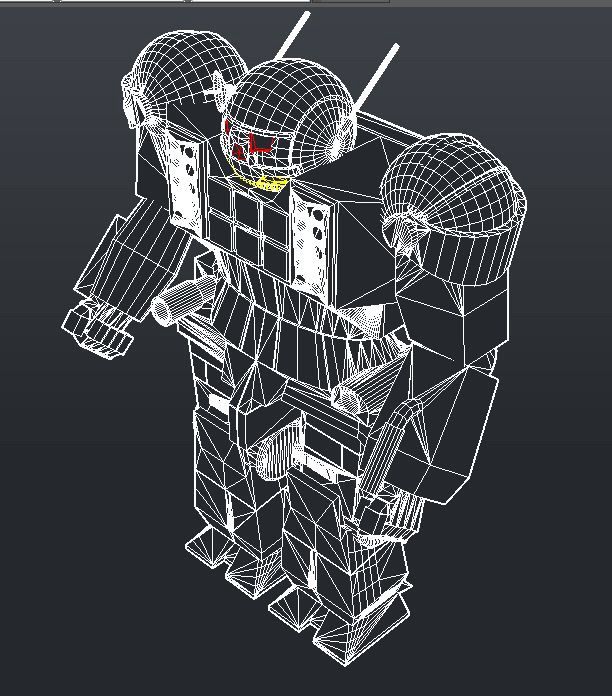
Here is the Atlas, unpainted going through the motions of being assembled:
It came in six main peices:
-Torso assembly
-Waist
-Right arm
-Left Arm
-Left leg
-Right leg

Also, for inquiries about these models, please contact me here:
geigerA42@gmail.com
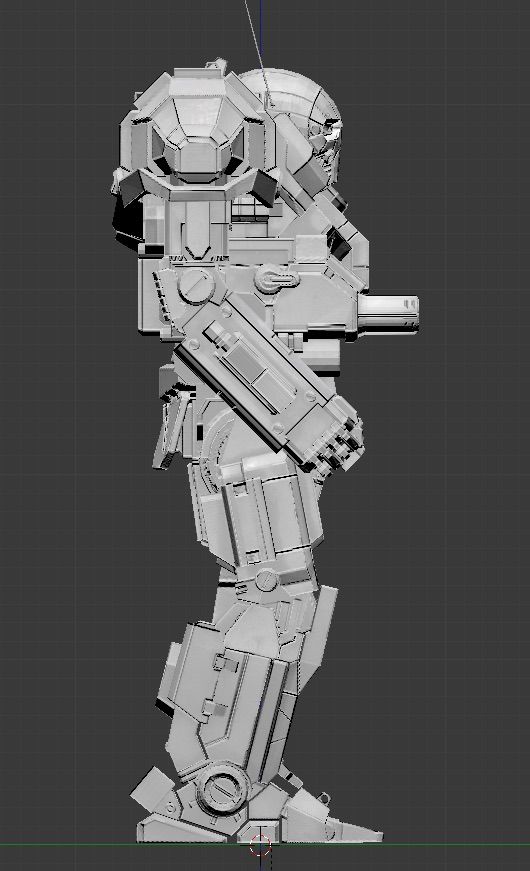
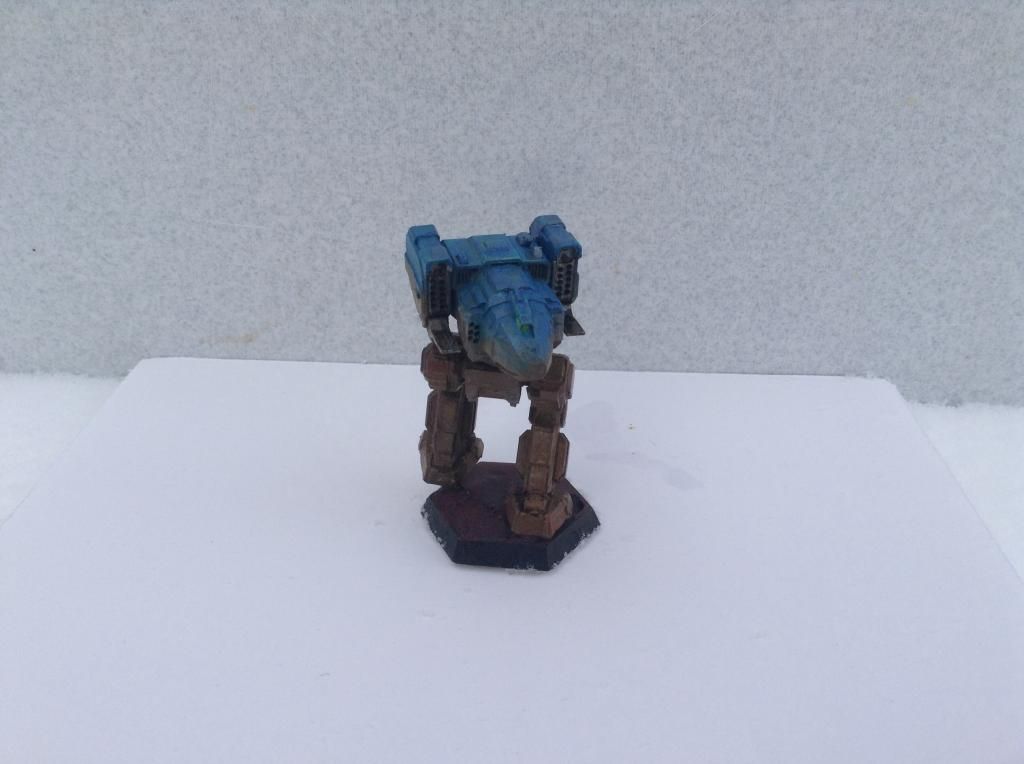
Next up is the Raven model: It to came in six pieces. 
That one was fun to paint, but if you end up getting one here is a little warning for you: Not to knock the quality of the model but on the same day of assembly the legs both snapped in half, so they are quite delicate. 
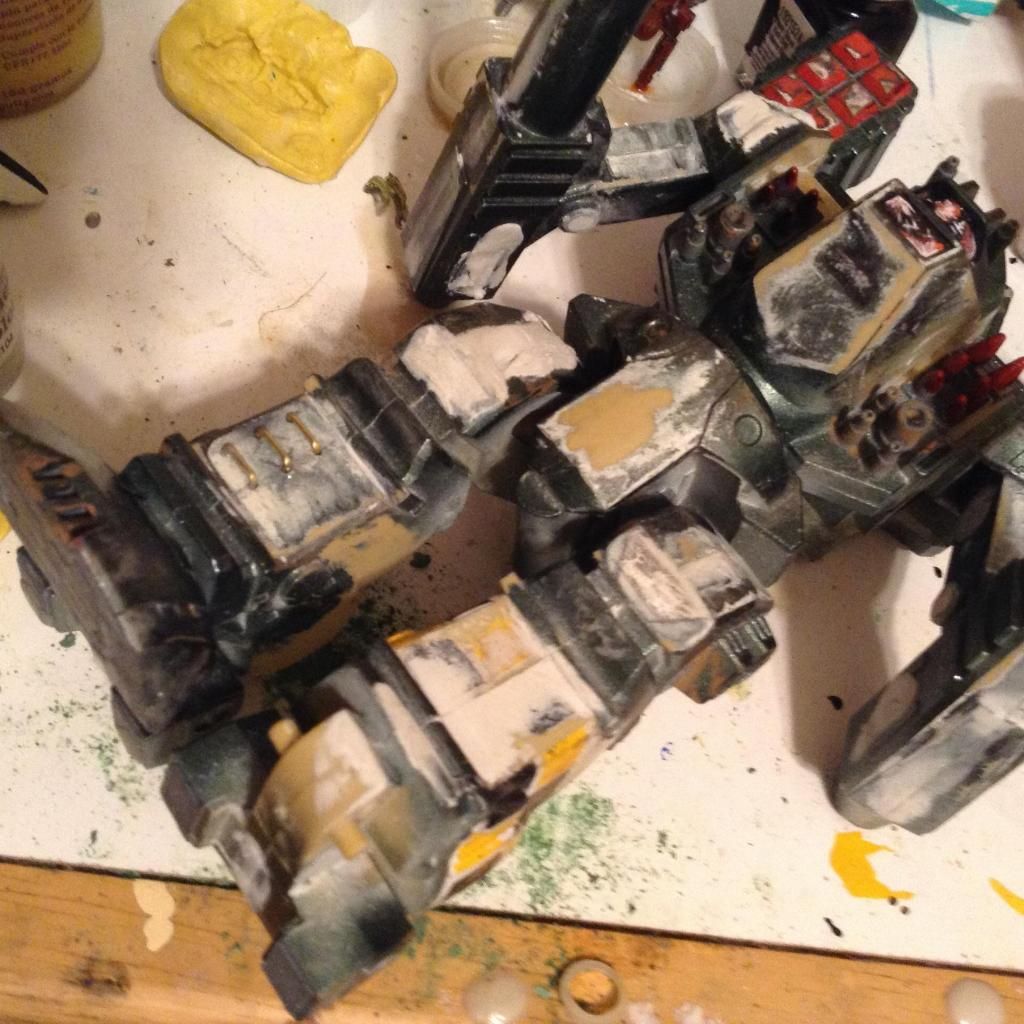
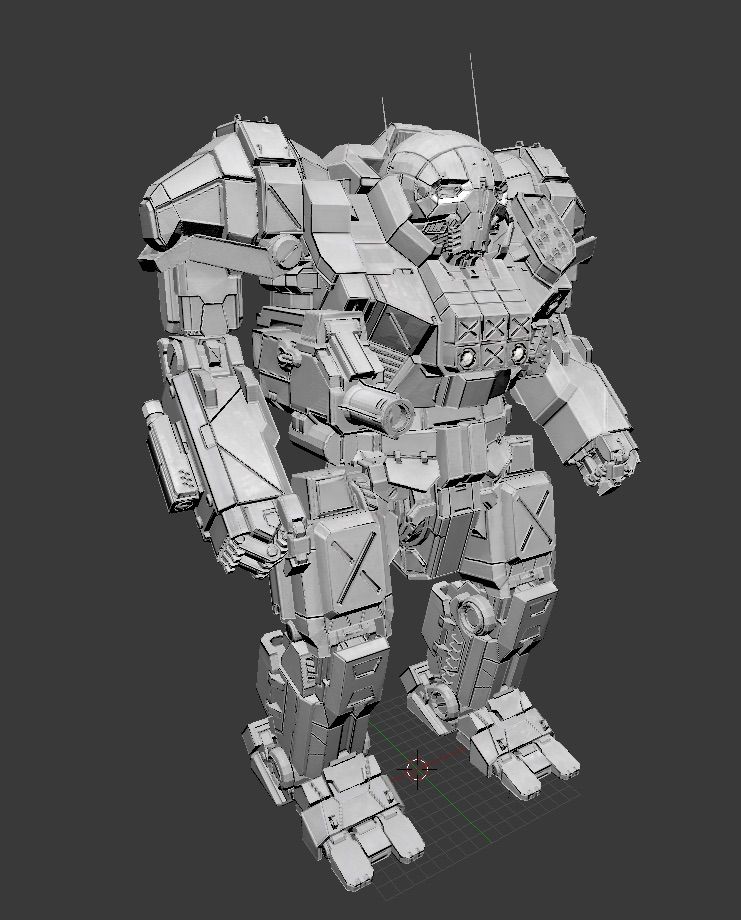
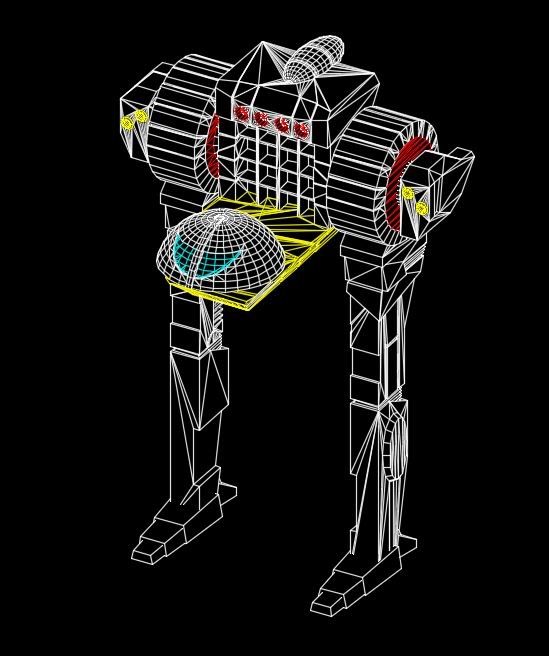
No here is a catapult that still needs to get a layer of paint on it:
This has to be the best catapult model I've ever seen, the assembly really is a monster of a kit with 20 peices including peices to make all available variants. They're not shown in this picture but it has a set of LRM 15s and a set of K2 arms to make the Kuritan's version of the catapult. 
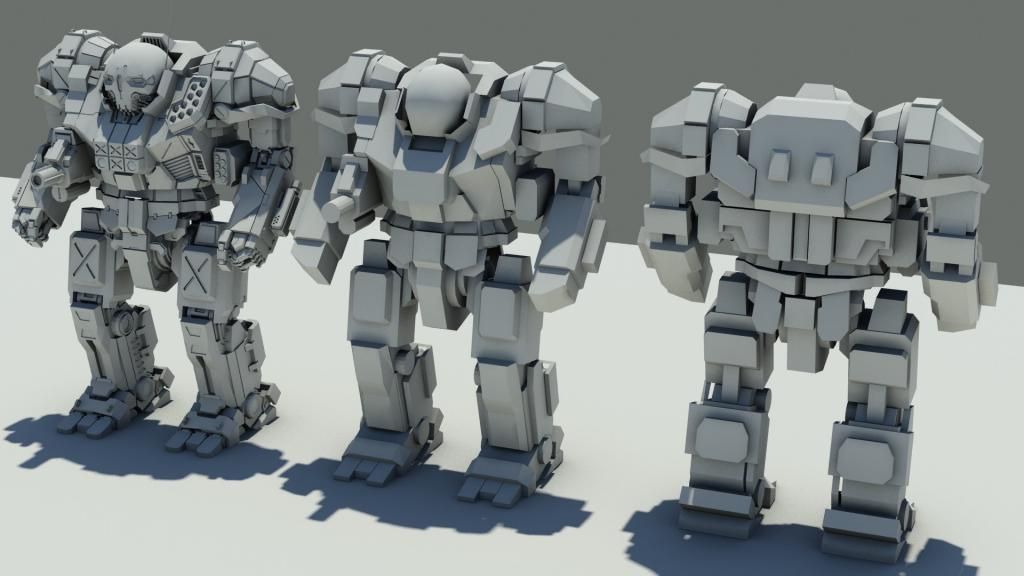
Next up is an before assembly picture of most of the MWO mechs pre-assembly 
Above are the arm options for the catapult and Jagermech, Below that you'll see various models including a jenner, cataphract, Raven, and catapult. And with that I think that's all I have to show you guys today, thanks for looking at my blog. 


Thursday, November 13, 2014

Completed Mwo minis

Hey guys, today I've got two more MWO minis to show you today:
A first Marik milita  Raven 3L and a First Davion Guards Jagermech.
They are also posted on Cool mini or not, so please go give 'em a rating it'd be much appreciated.
Here is the link:
http://www.coolminiornot.com/browse/browseid/10603748

So anyways, you guys came here for pictures, so here they are!

First up being the Raven 3L:
Next is the Jagermech; same with the atlas, it was a really fun sculpt to paint and build. The guy had 6 different arm options but I went with a duel gauss rifle setup for the loadout.


Thanks for visiting this blog, there will be more later tonight or tomorrow, stay tuned. 


Wednesday, November 12, 2014

Good afternoon folks


Hello all, as this is my first post on my new blog, let me introduce myself.
Screen Name-on the MWO I go by "Mech42Ace" link to my  profile: 
Hobbies-building and painting mech models from the series's MechWarrior and also Battletech. 
So now that we've gotten that out of the way, here is a simple FAQ about this blog and what it contains:
-Lots of Battletech/MechWarrior models
-Helpful links
-Commentary on Miniature builds (I.E. what went together easily, what was difficult.)

So. Without further ado, I thought I'd post something cool for my first post:
Some of my MWO minis I recently got off a guy on a Battletech fan site:

The all mighty atlas AS-7 RS

It was a really fun sculpt to paint, and went together fairly well. It also is one of the first minis where I tried to add highlights to the armor. It is supposed to be part of the first sword of light of the Great House Kurita.
Next on the chopping block is the stalker: It doesn't belong to a particular unit, but it is done up in the ridgeline camo.